|
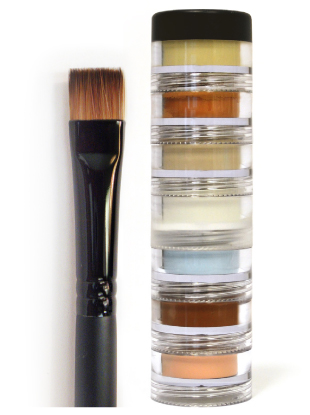
Use the Crème Contour Highlighter brush for all of the following Contours & Neutralizers.
 |
| |
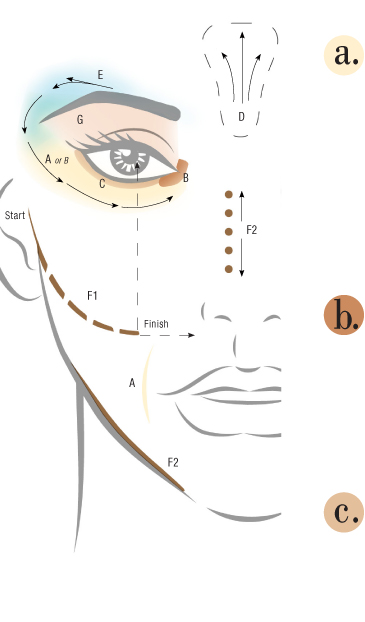
Using the flat side of the brush, sweep from the temple area at hairline to underneath the eye area, as shown in the illustration as A (or B. See note). Lift and highlight the face. This will fill creases, wrinkles and lines. With fingertips, pat and blend Smile Smoother until you achieve a lifted appearance. Also apply in smile crease around mouth.
Note: For women of color, substitute Step B (Blue Neutralizer) for Step A (Smile Smoother), as shown in the illustration. |
| |
Using the tip of the brush, press Blue Neutralizer onto eye area and sweep down in a half-moon shaped motion using the side of the brush. With your little finger, pat and blend toward the inner eye area to conceal dark areas.
NOTE: If necessary, apply over Smile Smoother to hide puffy areas underneath eye. |
| |
Using the tip of the brush, apply Eye Lift Highlighter directly underneath lower lashes. With your ring finger, pat and conceal any redness on the eye area directly under lower lashes. This will create the appearance of a well-defined eye. |
|
|
 |
| |
Using the flat side of the brush, apply White Contour. Sweep upward between the brows. With your middle finger, using a patting motion, blend to soften the lines of your forehead.
|
|
 |
| |
Using the flat side of the brush, apply Green Screen above brow to the temple area. Overlap Smile Smoother. With your index finger, pat and blend until the temple and brow areas are lifted and brightened. |
|
 |
| |
F1. CHEEKS - Using the tip of the brush, begin Brown Contour at the middle of the ear as defined in the illustration as F1. Continue dashes underneath cheek bone to just below bottom of nose and center of iris. With ring finger, pat and blend to the hollow of your cheek bone until desired results are achieved.
F2. NOSE - To slenderize nose, use the tip of brush, dot Brown Contour as shown in the illustration as F2. With your little finger, blend dots together. This will shadow to shape and slim the nose. |
|
|
 |
 |
| |
Using the flat side of the brush, apply Eye Perma Stay over entire upper eye lid. With your ring finger, firmly press and blend into the skin. This unique cream-to-powder neutralizes redness, prevents eye shadow from creasing, evens skin tones and is a total sunblock. |
|
|
 |
 |
|